A Few Words on … Beauty Steals

So just last week I was thinking here it is almost the middle of March and I haven’t seen anything on Ulta’s semi-annual Beauty Steals promotion.  And then this weekend I get the newest circular with the BS (ha!) calendar!  I was so excited that I stood in the driveway and checked it out…

As an aside, what ever happened to the excitement that getting the new phone book generated each January?  Damn you, internet and your infernal immediacy!  That used to be a really big deal and I probably haven’t even opened a phone book in the last couple years.  I get two or three different ones every year and, when I finally toss them to be recycled, the spines aren’t even cracked.  Kind of sad, isn’t it?

But back to the matter at hand…

Generally, the only nail lacquer represented is butterLONDON, but I’m always hoping for a Zoya or OPI one.  Or even a CND Vinylux, since I really like a couple of shades in their spring collection, Garden Muse.  Hell, I might even check out some Orly or Essie on a BS!  But it’s still a BL-only world, so I’ll have to save my coupons for the others that I want.

So, BL fans, start your engines and circle March 19 on your calendars!  It’s so exciting!  Well, actually not.  Instead of the usual BOGO, it’s a flat $9.00.  Now that might actually be a better deal for some.  You don’t have to buy in pairs and it also covers nail treatments.  Those are usually $19 a pop, so that’s even better than 50% off!  However, I’m not even feeling a tiny bit of want on this one.  It could be because I still have tons of untrieds from my BL sprees last fall.  I even got a really good deal on cuticle remover/oil sets or I might go for some of the treatments.

For those wondering about the various treatments, I really can’t give much of a review.  The treatment products I have are the Melt Away Cuticle Eliminator, Handbag Holiday Cuticle Oil, Nail Foundation Flawless Base Coat and Hardwear PDQuick Top Coat.  Of those, I haven’t tried the cuticle oil or the base coat.  Once I run out of my current oil and base I’ll start using those, so a future review might be in the offing.  I’ve been using the Melt Away for a while now and, while I can’t say it’s appreciably better than any of the Sally Hansen ones I’ve used, I like it well enough.  But at 9 bucks, it’s only a few dollars more than the drugstore varieties and the BL treatments are in bigger bottles than the lacquers, so it might work out to the same or less per ml/oz than the ones in glass bottles with a brush.  Probably not the gel kind in a squeeze bottle, but I prefer the brush types so it’s worth it to me.  I will say I like it a lot better than Blue Cross remover, which is so thin it’s like water and just comes in a big ol’ plastic bottle with no applicator.  I have scads of the Blue Cross since it’s actually cheaper than water, so I started using it in the foot bath and went for better stuff on my nails.

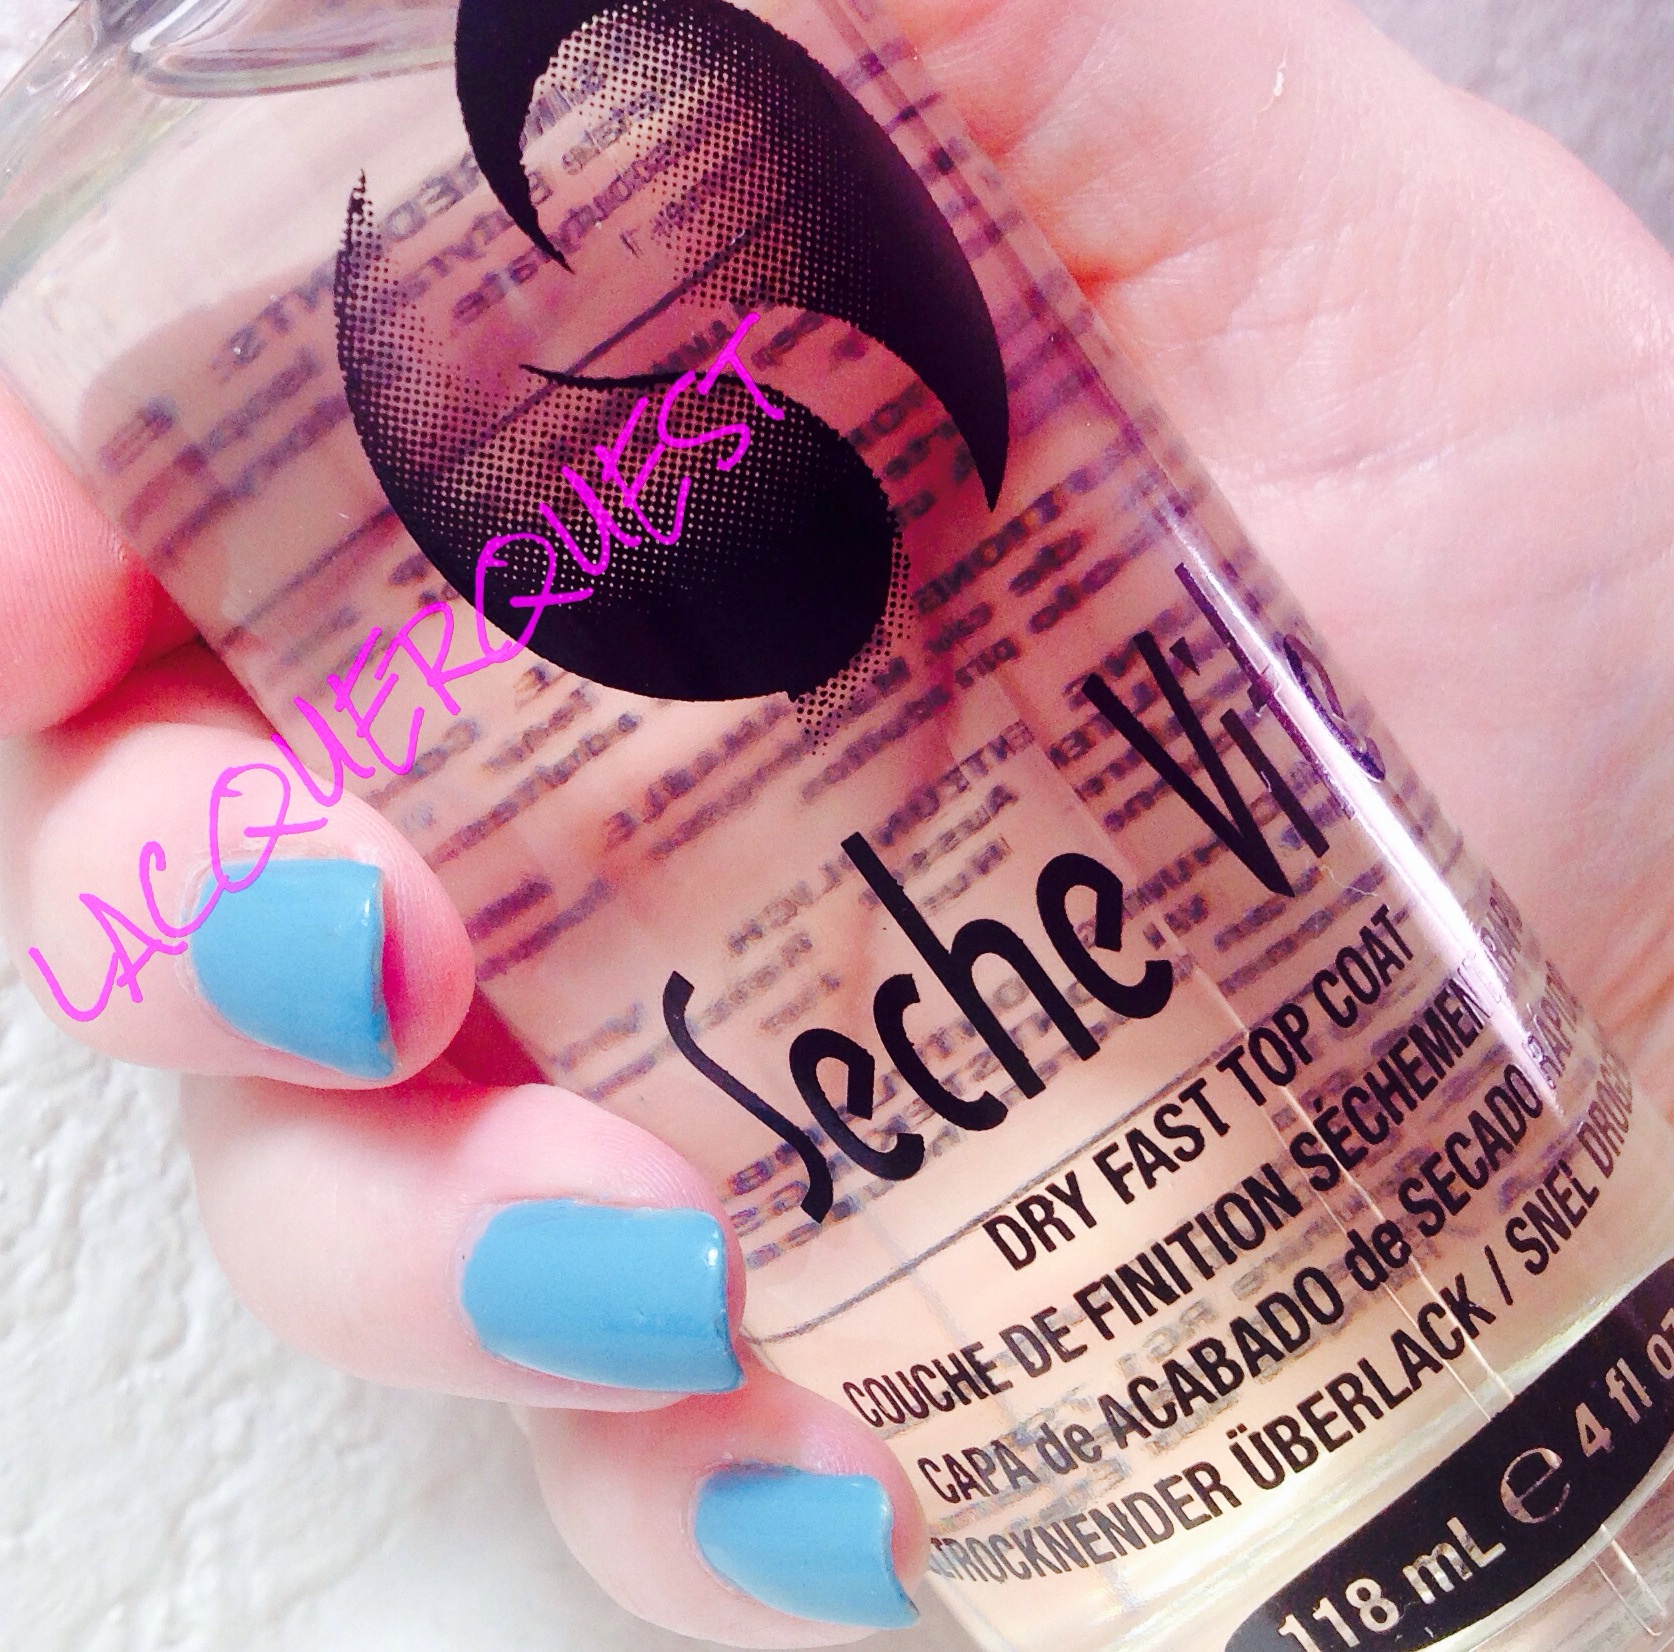
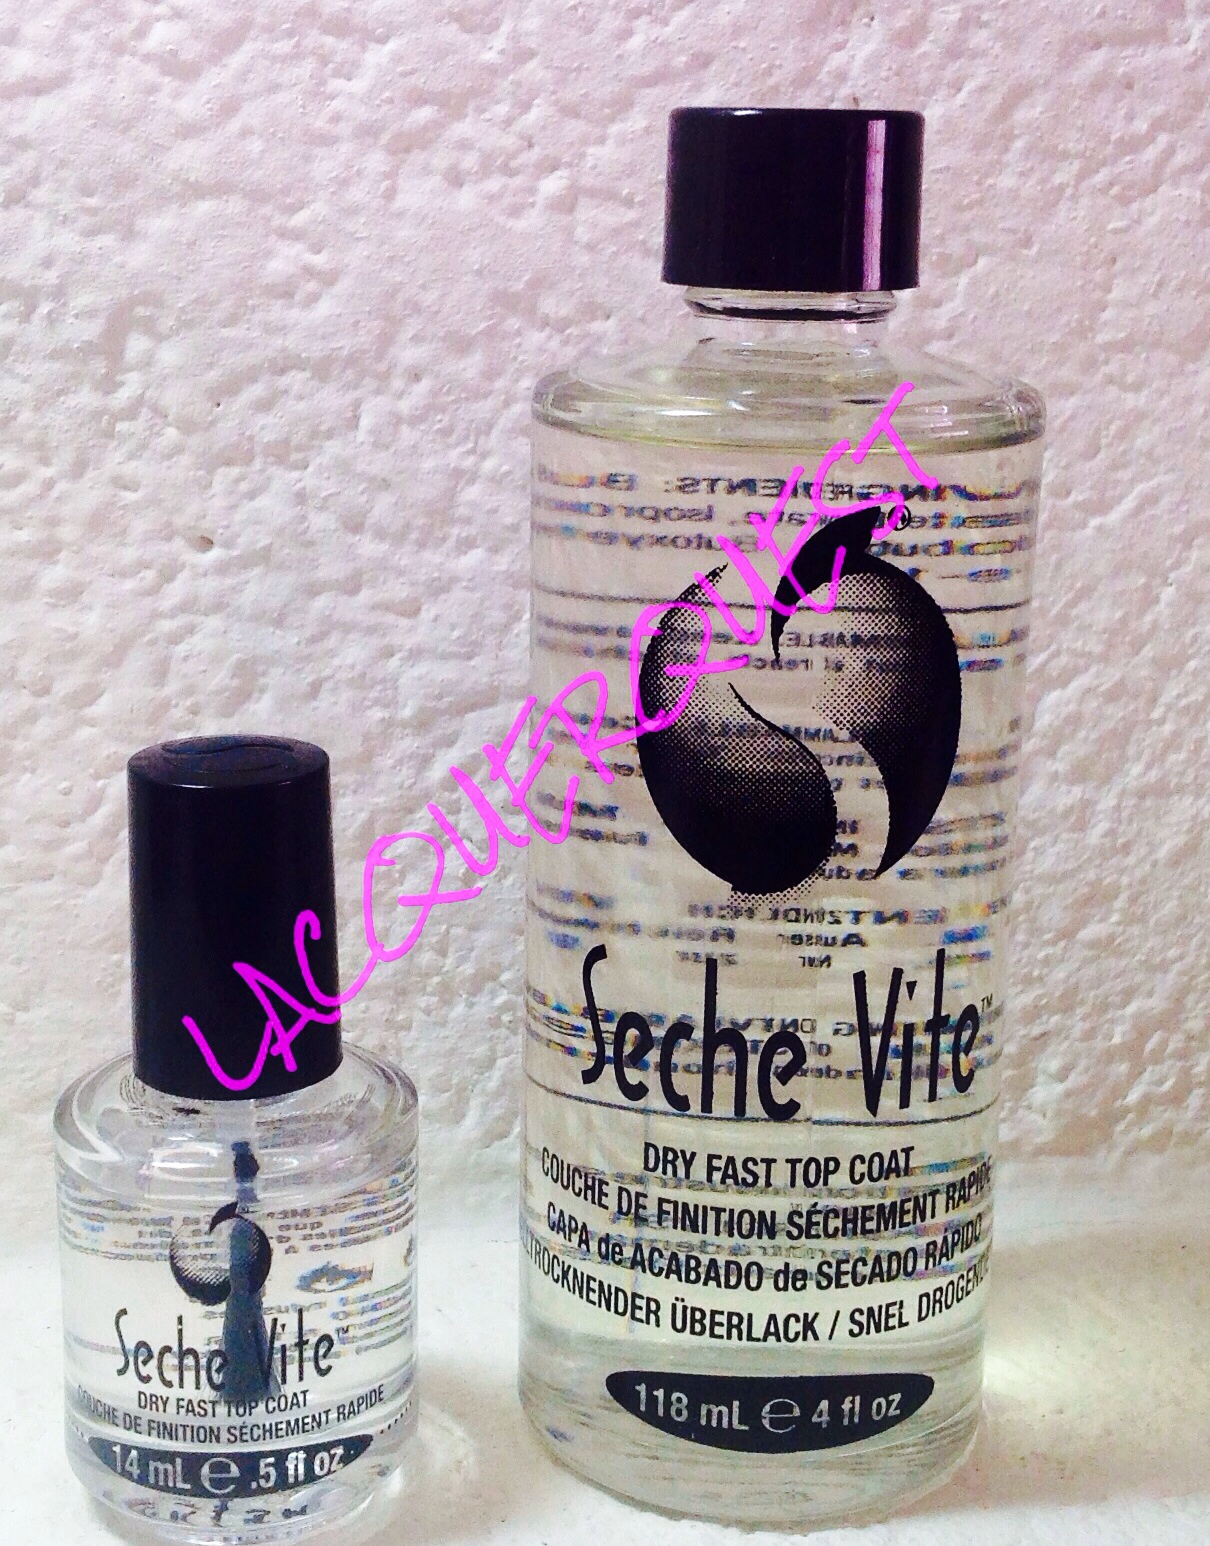
I kind of banged on the PDQ top coat during my Seche Vite review, but I’ll backtrack a little on that.  All of my in use bottles of SV need some Restore and since I’m too damned lazy to do it when I’m thinking about it, I forget until my nails are wet and I pick up the bottle.  So I’ve been using the PDQ for my last couple manicures.  Is it as good as Seche Vite?  No way!  It’s not as glossy and it’s not as hard so you don’t get that satisfying click-click.  It also doesn’t dry as fast, but it does do a lot better than I previously thought.  I’ve been using it when I don’t have anything to do afterward except play on the computer with no typing involved.  If I needed to get up and go somewhere or have some activity right after, I’d still definitely go for the SV.

The only reason I have the base coat is that it came in a set, so it’s not that I’m dissatisfied with my regular OPI base or Seche Clear.  My OPI is really getting low, so I’ll probably switch to the BL after that’s gone and wait for a sale instead of replacing the OPI right away.  The cuticle oil was also in sets at a huge discount so I still had plenty of my other oils left.  I have a big bottle of Super Cheap Super Nail that I use when I want need a big oil drenching (like after my nails have been through an acetone soaking), but I’ve been using some Sally Hansen and Gelish as my daily oils.  Once one of those runs out, I’ll start on the BL.

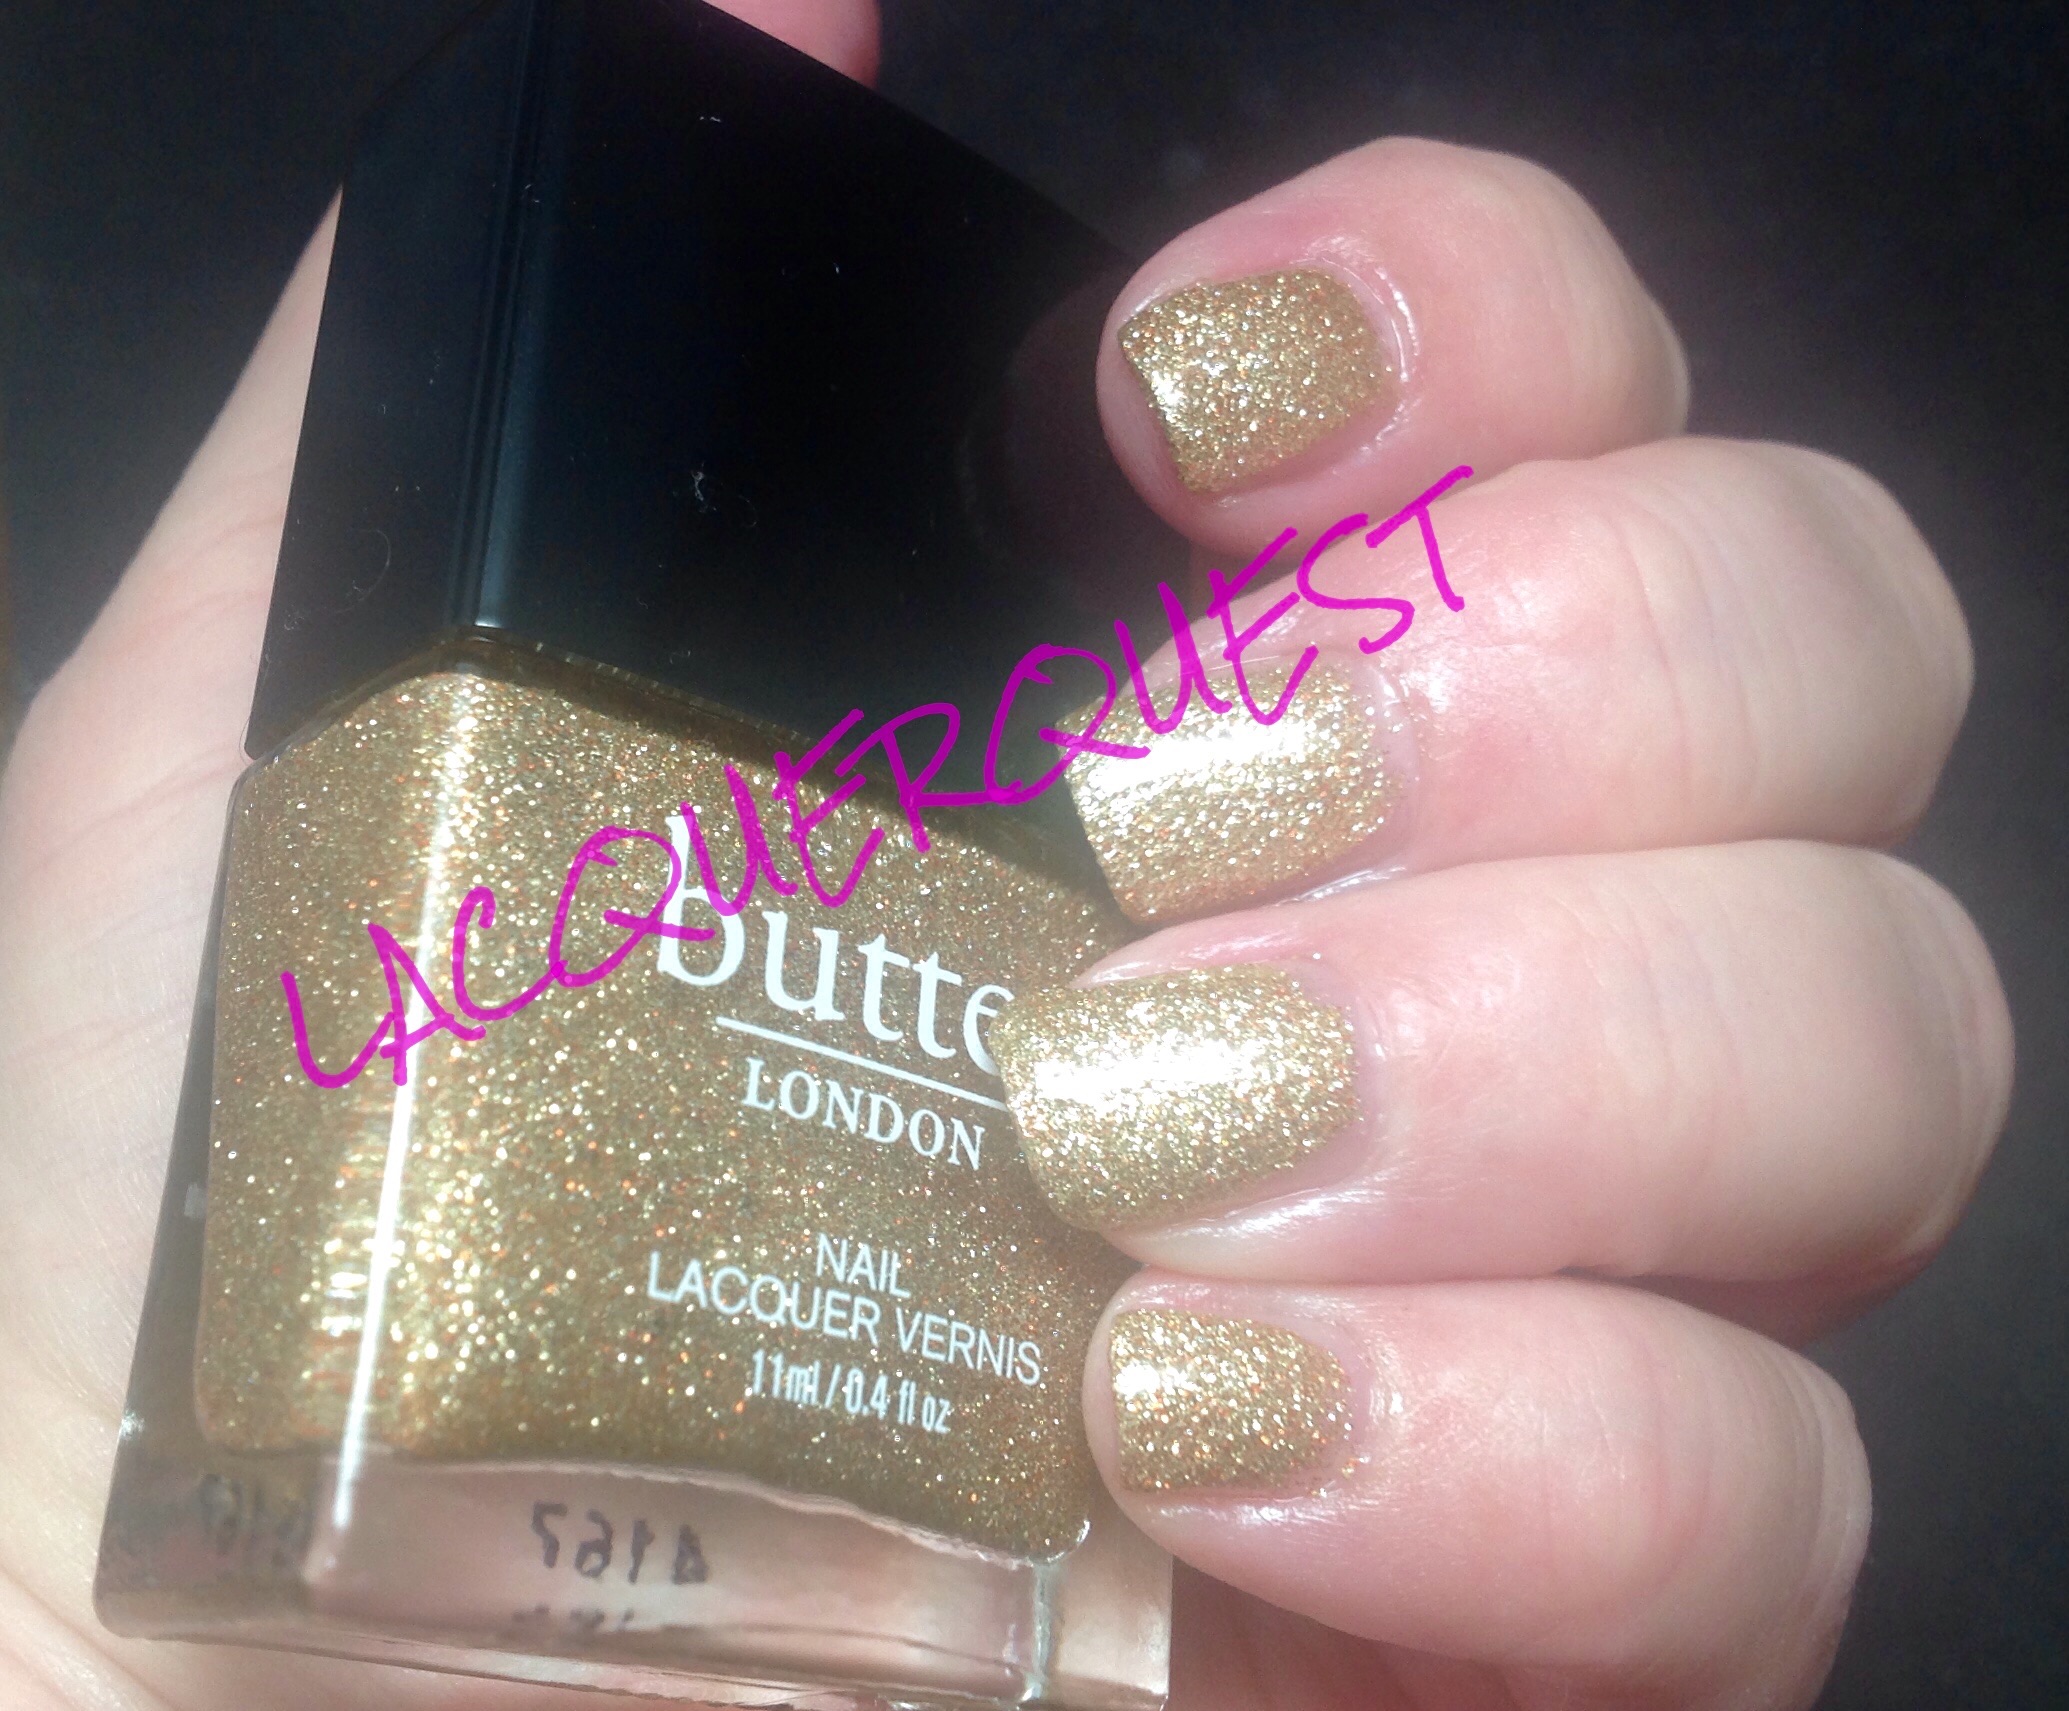
Since I don’t have any pictures for this post, I’ll just give a random sneak peek at an upcoming BL polish:

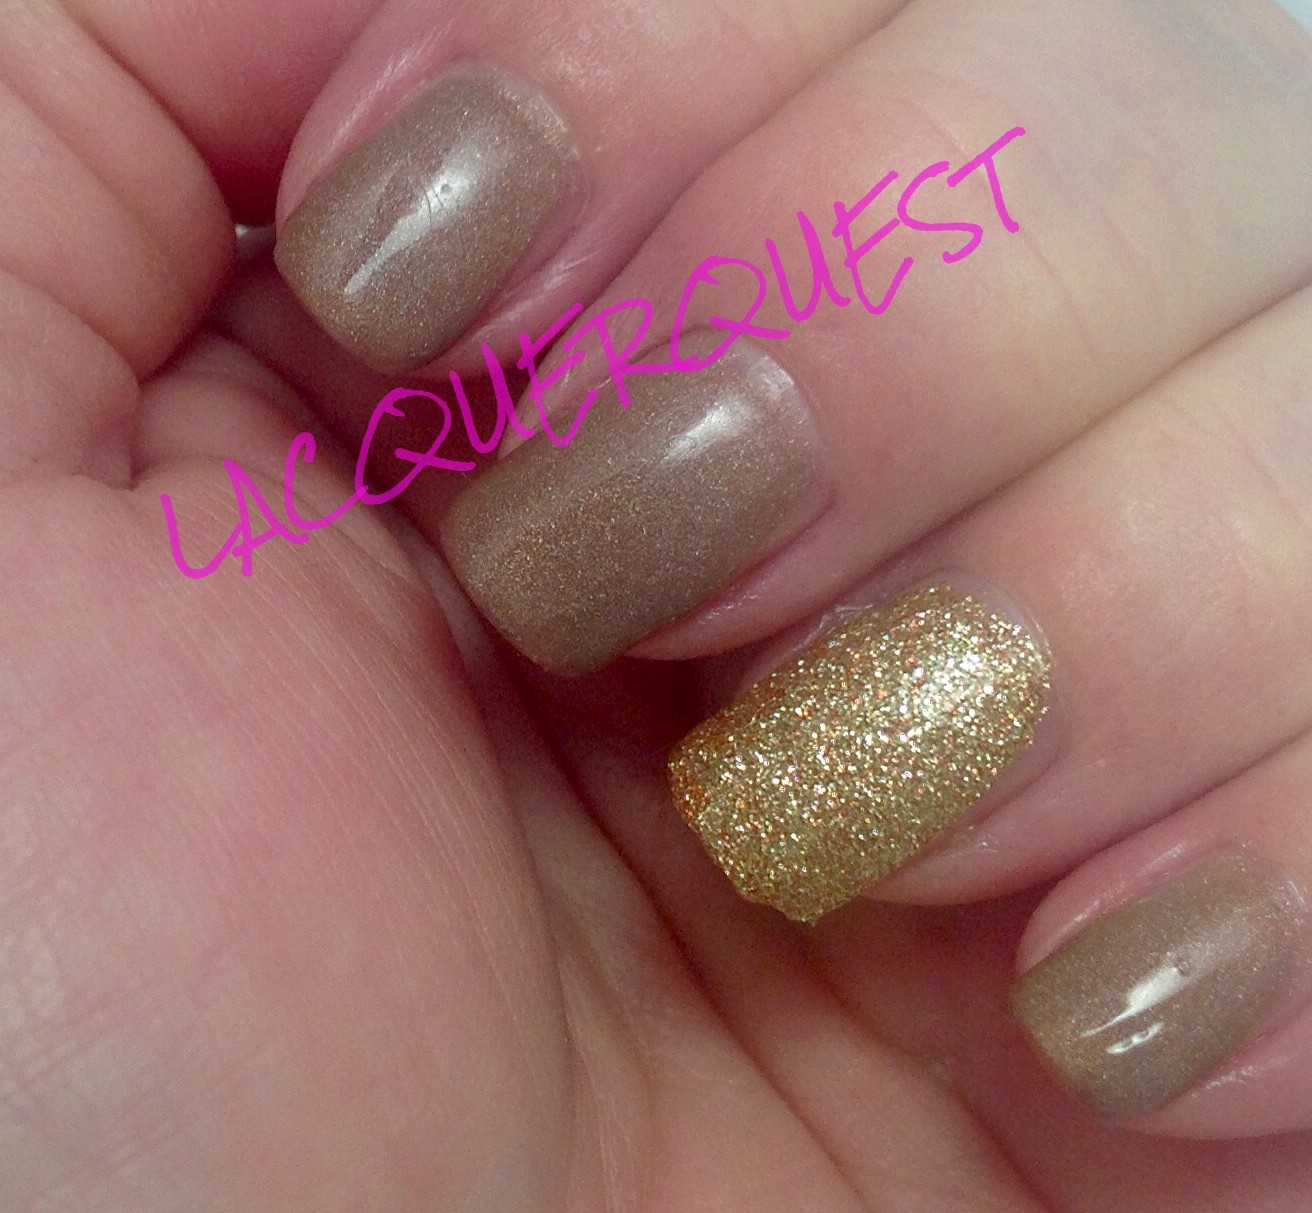
All Hail the Queen with West End Wonderland accent

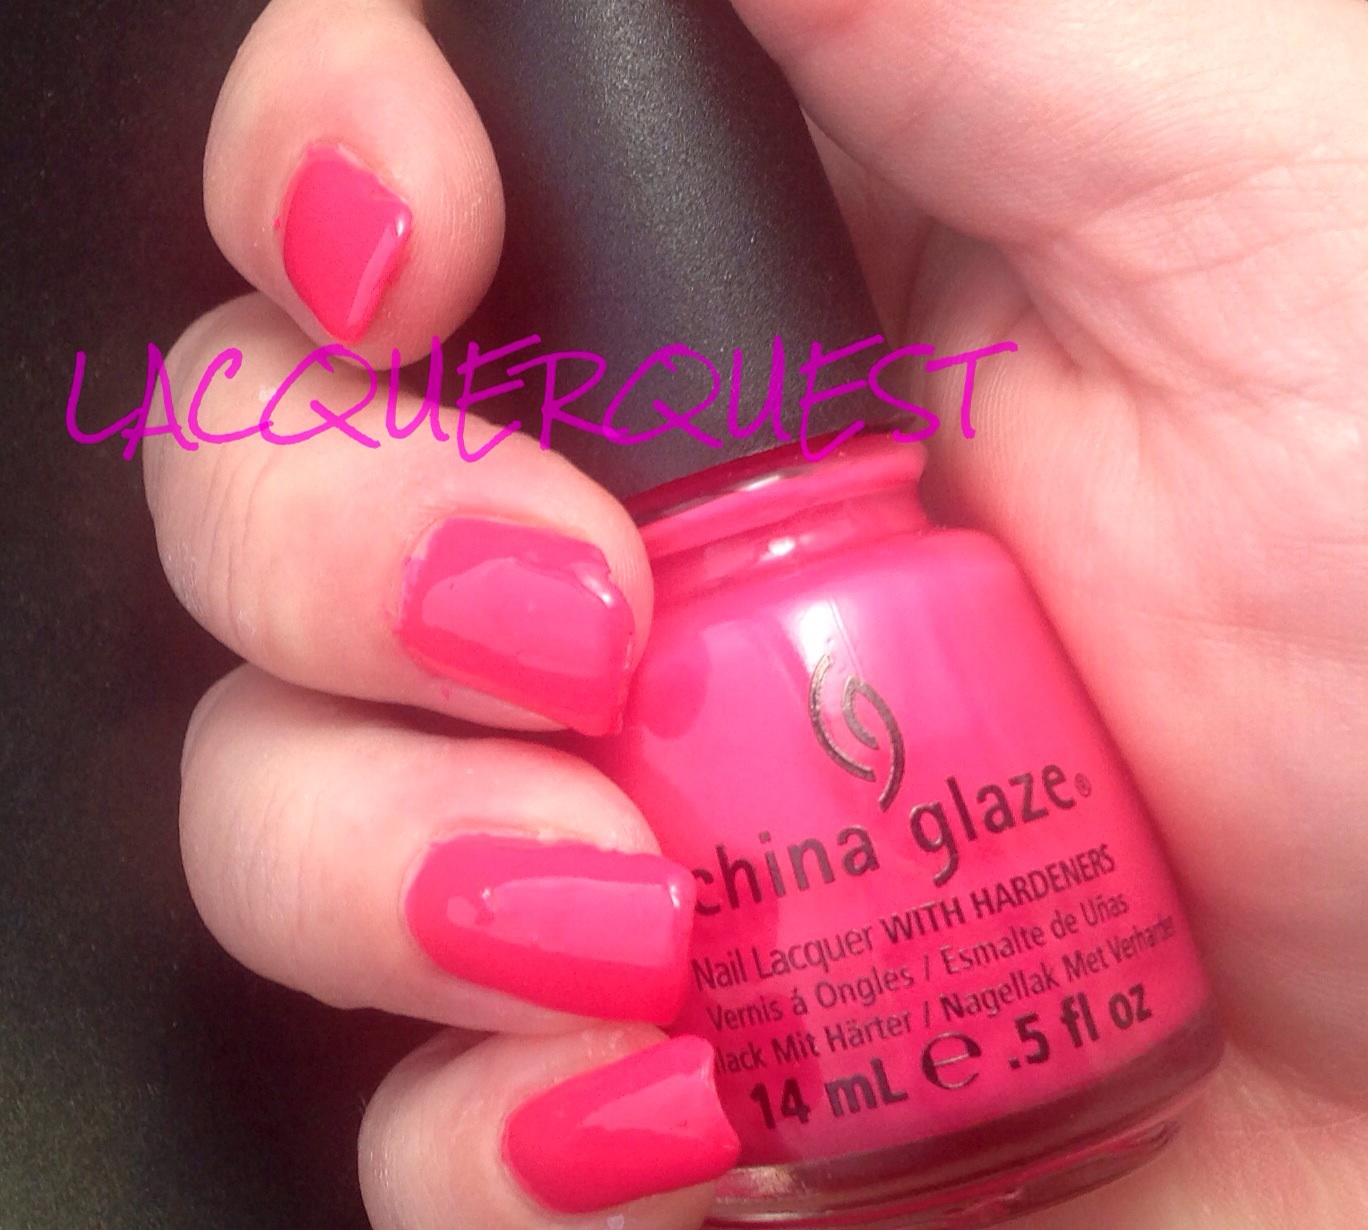
As well as a bottle shot of one of the cuticle oils that I’m currently using up before I start with the Handbag Holiday:

Polish is OPI I'm Not Really a Waitress

Polish is OPI I’m Not Really a Waitress

Advertisement

butterLONDON – West End Wonderland

Well, well, well…here we are again.  Oh, Butter London, I just can’t quit you…  I’m going to keep using you until I love you, dammit!  Truthfully, I’m almost there, at $8.00 or less, anyway.  I got this one in a Holiday two-pack that was half off the regular price and then I got 50% off of that.  Butter London at $3.75 a bottle?  Yes, please!

West End Wonderland is a light gold glitter in a clear base.  I’m not really a fan of gold in general and gold nail lacquer even less.  But this always looks so tempting that it’s been on my “maybe” list for several years.  When the aforementioned deal came up (the other one in the pack was Come to Bed Red, which is another one that’s been on that list for a while). I finally took the plunge.

And I’m glad I did.  It looks pretty dark on the BL site, but in person it’s much lighter and brighter and even has a sprinkling of sparkly copper and pink!

West end wonderland


Here’s another shot to show how delicate it looks when it’s in the light:

West end wonderland1

Like most clear glitters, it goes on quite sheer.  In fact, I think that a light coat of this would be a great topper to a creme underneath.  Unlike a lot of clear glitters, it was perfectly opaque after three coats. It also came off really easy, not just swipe, wipe like with a creme, but it didn’t require soaking, either.  Also like most glitters, it wasn’t perfectly smooth but just one coat of Seche Vite fixed it up nicely and, since I always finish with the SV, it wasn’t even an extra step.

Will I wear this all the time?  No, because even though it exceeded my expectations I’m still not a real fan of gold glitter.  Will I wear it again?  Yes, it’s easy to apply and easy to remove.  I might even try it as a topper for some sort of holiday manicure come December.

China Glaze – Escaping Reality

I think this might be the last one from my “old” batch of pictures before I cut all my nails down and went on hiatus.  But never fear, I’ve been busy making new ones!

Remember that movie Cirque du Soleil: Worlds Away that came out around Christmas of 2012?  Yeah, me neither.  But China Glaze apparently thought so highly of it that they did an entire full size collection devoted to it as a tie in.  Remember that 2012 holiday collection from China Glaze called Cirque du Soleil:  Worlds Away?  I do, but just barely and vaguely at that….

But, after brushing up on it in preparation for this post, it did have a couple of cool glitters that I liked.  But I find it physically impossible to pay full price for China Glaze (as reasonable as it is for a salon brand) and there were only a handful of cremes left when Sally finally got around to clearancing them.  So I ended up with two of them, a coral whose name escapes (ha!) me right now and this one.

Escaping Reality is a hot pink that borders on neon.  If it was a brighter or lighter shade it could very well go neon or fluorescent, but the pink is a darker blue leaning shade that saves it from being too loud and makes it much more wearable, rather than just being a “just for fun” choice.  I still classify it as a “hot” pink because it’s highly pigmented, plenty bright and not at all soft.

China Glaze Escaping Reality

As far as the formula goes, it was a bit on the runny side for a creme but I didn’t have a problem with any cuticle flooding.  It wasn’t even necessarily that patchy but since I like to do three coats anyway, that doesn’t really work against a polish for me.  Unless it’s one of those that you’ve still trying to even out half a dozen coats into the thing!  While it wasn’t exactly a matte, there wasn’t much shine to it, but a coating of my precious Seche Vite fixed that up and left my nails looking creamy smooth and ultra shiny.

I also added an atrocious attempt at some tiger stripes at some point before I removed it.

China Glaze Fingerpaints Charcoal

Although I’m far from the best nail artist in the world, I can usually do a pretty decent animal print, so I don’t know why this is 1.  so amateurish and 2.  why I took a picture of it.  Since I’m holding a FingerPaints striper in the picture, I’m pretty sure that I’d just gotten the stripers and….. wait!  I do remember!  Sally was having a B2G1 sale on FingerPaints stripers and I got those at the same time as the two China Glaze polishes!  Since it was the first time I’d gotten the FingerPaints brand of stripers I was testing one out while sitting on the couch with just a shaded lamp for a light source while chatting away with my sister.  Now that I remember the circumstance, that striping job turned out pretty well!

The striper was Ch-art-coal Black and is a really nice one.  Granted, my only other stripers are Salon Perfects that sell for a buck or two at the drug store but FingerPaints are definitely my favorites.  The brush is very narrow, but really long with flexible bristles and a nice point so you can get really thin lines as easily as thicker ones.  The polish itself is thin enough for a light touch and good control, but not so runny that it will drip and spread.  It’s pretty much like a nice fluid eyeliner, it goes where you put it and not where you don’t.

Nail Art – Easter Watercolor with OPI Sheer Tints

When I got the mini pack of the Sheer Tints, I wasn’t sure exactly what I was going to do with them.  Did that stop me from wanting them?  Ha!  I wasn’t really looking for anything at the time, but I was reading some reviews on them and saw some ideas at Phoenix Beauty Lounge.

I must say that I think I got more comments on this mani that I’ve ever had before.  Of course, I routinely get comments from women, especially at places like Sally or Ulta because people there are more likely to be into that kind of stuff.  But when the guy at Lowe’s notices them while cutting your PVC pipe, now that’s something!

I wasn’t completely happy with this one, but that was due to the crap job I did on the white polish (OPI Alpine Snow).  I loved how the Sheer Tint effects turned out, so I’m going to do it again some time, but use a different lacquer for my undies.  I’m thinking that one of my white jellies might be really nice and add even more delicacy to the look.  I pretty much just used the Alpine Snow so I could get it out of the way and check it off  of the review list.

It was really yucky, but I’m not laying all the blame on Alpine Snow’s doorstep.  Opaque creme whites are probably one of the toughest colors there is as far as getting a good formula.  If it’s not streaky, it’s globby, if it’s not runny, chalky.  This pretty  much had the consistency of Liquid Paper.  But I’m willing to cut it a little slack, because it’s a mini bottle that I’ve had a long time so that could have a great deal to do with it being gunky, as well as using the tiny brush.  And I’ll concede that it’s possible that there was some operator error involved as well.  I’ve used it before and, while I’ve never been really thrilled with it, I don’t recall it being this bad.

Here’s the tremendously bad picture I took for posterity:

image

Now to the good stuff!

I described the whole idea behind the Sheer Tints in my previous post, but I’ll put in the picture again just for a reference point on the colors.

image

From left to right –  I’m Never Amberrassed,  Be Magentale With Me, Don’t Violet Me Down and I Can Teal You Like Me.  Yeah, I know.  They  must stay awake at night thinking up this stuff…..

This was really easy and looks so much more impressive that it actually should.  The most frequent comment was “Did you do that yourself?” Followed closely by “Are those your real nails?”.  To which both of my answers are the same.  “If I was paying someone to do this, I would have made them redo the white base and if I was paying for fake nails they’d at least all be the same length!”  Well, that was the answer in my head.  My out loud answer was a very witty “Yes.”

I started with the white undies, which is basically like primering your walls so you have an even color when you paint them a different color.  Then, one by one, I just painted on streaks and strokes of each color, overlapping them to create even more colors.  I should have taken a photo before the top coat because, while it looked okay, it was when I put on the Seche Vite that the magic occurred.  Besides making them shine like crazy, it also blended the colors without muddying them, which was how I got the Monet effect.  Please ignore the raggedy edges, I did manage to smooth them out a little the next day before I inflicted them on an unsuspecting public….

image

The next picture is the bottle shot.  Yes, all of those different shades were created with just those four colors!

image

My verdict on the Sheer Tints is resoundingly positive!  Once my nails grow back (more on that later), I want to really play around with some different techniques and some monochromatic stuff.  At some point I’ll probably add an additional review showing how all of the colors look by themselves rather than blended.  I should have done that before, but didn’t think of it  until now and, honestly, I wouldn’t really have had the time lately anyway.

A Few Words on … Seche Vite

Well, probably more than a few words… I could talk all day about my darling!

image

Ah….where to start?  Well, in French, seche means dry and vite means fast.  And they’re not kidding around!  While some top coats seem to define fast as ‘proceeding genteelly at a leisurely to moderate pace’, Seche Vite is already finished, washed up and lying back smoking a cigarette.  Seriously, by the time you finish with the tenth nail, the first ones are dry.  Well, maybe not completely dry if you just slop it on like a madwoman in a total of about 5 seconds like I do, but if you go at a sane rate of speed, yes.

SV, as it’s affectionately called, is not Big 3 free.  Which is probably why it works so well.  Healthy, schmealthy, I want my nails to shine like the top of the Chrysler Building!  The only drawback (for me, personally) is that once you open a bottle of SV, the toluene (one of the Big 3) will start to evaporate and eventually your sweet SV will become thick sludge.  It depends on how fast you use it and how tight you keep it closed, but this will usually start to happen around the halfway point.  For me it’s usually around the 3/4 to almost empty point, but I change my nail colour a lot so I use more than average.

But, never fear!  Seche has a solution for you!  I present to you, Seche Restore:

image

Which is basically water, rubbing alcohol and toluene.  It comes with an eye dropper (a pipette if you’re French or fancy) and you just add it to your old, tired SV until it’s back to life.  Seche cautions you to not use regular thinner, but I’ve heard (and by heard I mean read on the internet) that it will work fine.  I’ve never tried it but since thinner costs like 1.89 for a 20 gallon drum and Seche Restore is 9 or 10 bucks for half an ounce, I’m going to try it some time.  Maybe on a bottle I have that only has a tiny bit of SV left in it, that way I don’t waste half a bottle of SV in my experiment.

For me, that’s really the only downside.  It’s dry to the touch in under a minute, you can eat salty peanuts in 30 minutes and I’ve actually taken a full-fledged, hot as hell shower (including shampoo) a couple hours after doing my nails with not as much as a nick or a smudge.  Not only does it dry fast, but it dries to a beautiful, glassy finish that wears like iron.  After a minute, give your nails the “click test”.  Tap the nails of one hand on the nails of the other.  Rather than a normal tapping sound, you’ll get clicking that sounds like stiletto heels on a marble floor.  Fabulous!

Some people do experience what’s called “shrinkage”.  I haven’t personally, but I don’t know if it’s body chemistry, base coat (I generally use OPI or Seche Clear), operator error or a combination of factors.  Shrinkage is when the polish pulls back from the edge of your nail, leaving a bare little strip.  General wisdom is that it dries so fast that the evaporation can make the polish draw up.  One way to combat that is to ‘wrap your tips’ or ‘wrap your edges’.  This is just a fancy way of saying to swipe a little polish along the edge of your fingernail tip.  Even though I don’t have a problem with it, I try to remember to wrap just because it helps prevent tip wear and it makes the nail look finished.  I succeed in remembering approximately 25-30% of the time….

So what’s the catch, you might say, I bet it costs a fortune.  Au contraire!  Sometimes you do not get what you pay for.  I have an $18 bottle of butterLONDON PDQ Hardwear that’s crap and takes forever to dry (and by forever I mean like 30 minutes).  SV is like 8 or 9 bucks, basically the cost of a drugstore brand.  I’m not sure of the exact cost because I usually get it when Sally has a deal like buy Seche Clear (base coat) get Seche Vite free or when it’s packaged with a nail polish for a promo.  Other than that, I get the Bahama Mama refill size because I’m just crazy like that.

image

Yep, you read that right, four full ounces.  Here’s a comparison shot with a regular sized bottle for scale:

image

Even without the evaporation factor, SV isn’t as thin as a lot of top coats out there.  For the best results, don’t paint it on your nails as you would normally, get a little dollop on your brush, drop it on your nail and then spread it out like you would spread honey on toast.  Sweet and smooth!

Side note:  For reference, the polish that I’m wearing in the bottle shots is OPI Can’t Find My Czechbook.  I’ve already got the pictures in the can and I’ll be doing a review post on that in the near future.  I think that manicure was almost a week old when I took the Seche pictures, so you can see how well both OPI and Seche Vite wear!

China Glaze – Turned Up Turquoise

Turned Up Turquoise was introduced as part of China Glaze’s Ink Collection from the summer of 2008, but is now part of the permanent line.  The collection was somehow related to tattoos, although any connection to either the colors or the names is beyond me.

I really want to love China Glaze, I’ve tried to convince myself to love it, I’ve kept buying it to try and force myself to love it.  It has a cool name, scads of colors, is priced on the lower end of the salon brands and is readily available at Sally Beauty Supply, which is my favorite beauty store and just down the street from me.

I don’t love China Glaze.  I like it, but I don’t love it.  There are a couple of them that I love, For Audrey and Make a Spectacle, for example.  But the rest of it is kind of take it or leave it.  Now that OPI has finally agreed to let Sally carry their line, my consumption of China Glaze will tail off dramatically.

The only reason I got this one was because it was in an ombre set of four colors called Wait Teal You See that was at a great price.  I think this was some time last summer and, while I wouldn’t have gotten it separately, I like it enough that I’ve worn it maybe two or three times since then.

This is kind of a strange one.  It’s marketed as a neon and, while it’s certainly bright, it doesn’t have that vibrant, knock you out punch that I associate with neons.  However, like most neons, it does dry matte.  It looks so different that I took pictures before and after top coating.

image

This photo was taken after three coats of polish.  Mattes tend to dry super fast and this one is no exception.  But then give it a little Seche Vite magic and…

image

Voila, it’s now a sleek and glossy sight to behold!  By the way, for those who have been wondering what in the world is this Seche Vite I keep carrying on about and what’s the big deal anyway, I’ll be devoting an entire post to this miracle in a bottle in a few days.

While the color in the pictures is lovely, it’s not accurate at all.  TUT is actually a green turquoise and skews heavily to the green side of green-blue.  This is apparently a common problem with this polish as I’ve looked at other pictures of it on the internet and far better photographers than I get the same blue and comment on it.

There used to be a toothpaste that was a green gel with a bluish tinge, but I can’t remember the name. Gleem, maybe?  The next best comparison I can think of is to take regular Scope and toss in a dash of the Blue Mint Scope and there you are!

The first coat, and maybe even the second were pretty streaky, which is common with neons, but they dried so fast it waa no real hardship.  I remember the third coat being thick and giving me a few globs, but I don’t see them on that first picture, so they might have been on my left hand.  It all got sorted with the top coat, but if you like rocking the matte look, be careful to make sure that last coat isn’t too lumpy.

OPI – Strawberry Margarita

There are usually at least a couple polishes from OPI’s seasonal collections that really make a splash and are added to their open stock.  Strawberry Margarita was first introduced in the Mexico Collection way back in 2006, but then was awarded a spot in the permanent lineup.

A position that is well earned, as this is a really great pink and one of the best summer polishes you’ll find.  I wear this a lot in the summer, but I wore it to Ulta recently so I could compare it to the new Kiss Me I’m Brazilian shade from the spring collection.  Lots of times I see a color and fall in love with it and MUST HAVE IT!, then I get it home and realize I already have one or more colors almost just like it.   Since I already had it on, I decided to go ahead and get the review out of the way.

image

The picture shows it as more coral than it really is, in person it’s a dark pink that’s….well that’s pretty much the color of a strawberry margarita!  I’d call it a rose, with no orange and no leaning into red territory.  It’s a bright one, but not a glaring neon.  A shade that can really go anywhere but it shines in the summer sun.  Of which there isn’t any right now…

As OPI usual, the formula is a dream.  Smooth, creamy and excellent coverage in two coats.  I don’t have the bottle in the shot because it’s a mini, and if it had been a full size brush, one coat might have done it.  And topped with some Seche Vite, it’s one of those that look so squishy and juicy that you just want to bite into it (but I wouldn’t recommend doing so!).

In answer to the burning question of this post, Kiss Me I’m Brazilian and Strawberry Margarita aren’t even close.  KMIB is a much lighter pink, more of a bubblegum, but a little softer.  So did I get it?  Oh yeah, but I was good and just got the mini!

ZOYA – Stevie

There’s always some “new and exciting” trend in nail polishes. For the last year or so, it’s been textured polish.  I personally don’t care for them for a few reasons.  First and foremost, I like my nails to be shiny and glossy with a glass-like appearance.  I live for top coating!  Matte, crackle, textured…I just don’t go for the no topcoat required stuff.  But it’s not just the look that gives me trouble.  I’m a picker.  If there’s the least little bump or snag, I’ll pick at it constantly.  Not only is picking at stuff rather unseemly, it does a number on the nail/s doing the picking.

But they say there’s an exception for every rule and this is mine.  Zoya Pixiedust.    I love Zoya polishes, which is the only reason I even paid any attention to them, and the collections they come out with have some really gorgeous colors.  Not only were they gorgeous, they have mad sparkle without having separate bits of glitter added to them!  Pixiedust is aptly named.  They remind me of the coloured sugar that you use to decorate Christmas cookies.

Another plus is that, among all the textured polishes, I think Pixiedust is probably the smoothest.  Not too lumpy or rough, kind of like granulated sugar.  So, no topcoat be damned, I toss on a couple layers of Seche Vite on the top of it and, while not perfectly smooth and glassy, it’s enough so that I’m not tempted to pick.

image

I love pretty much any and every shade of purple and this is a wonderful lavender or lilac colour.  Not too light, but not so dark that it borders on a straight purple.  I haven’t tried any other brand’s textured lines, so I have nothing to compare it with, but it goes on like a dream.  Although it’s not as smooth as a normal polish, of course, it just glides right on with no lumps and globs.  I can get a really thin coat on with no problems at all.  It will still be pretty sheer at two coats since it’s a pretty light colour and I think this was four coats, but it dries super fast so it’s no big deal.

I hate that my crap pictures aren’t showing the crazy sparkle on this one.  All of my camera software is on my laptop and my screen went out a few weeks ago.  So I’ve just been making do with my iPad.  With no flash, some pictures come out pretty good and some…not so much.  I’m thinking about making a good light box and hope that does the trick, because it really is so fast and easy to upload them right from the iPad camera app.

OPI – Stranger Tides

Well, my pictures are looking a little ragged and my nails aren’t much better, but if everybody waited for everything to be perfect then not much would get done, now would it?  So, let’s just say to hell with it and light this candle!

OPI does two full collections in the spring and fall with geographic themes (this spring it’s Brazil).  In between those, they do a small collection which is generally tied in with a summer movie (this year it’s Muppets Most Wanted).  In 2011, the summer movie was Pirates of the Caribbean: On Stranger Tides and this polish is from that collection.

image

With the exception of a few shades that I love, I’m not much of a green fan (nail polish or otherwise) and never would have gotten this if it hadn’t been part of the mini bottle set.  Which is one reason that I love minis, because so often those polishes that I would never buy separately become favourites.  Such is the case with Stranger Tides.

From the outside of the bottle it looks like sickly pea green.  On the nail, it becomes a soft sage that’s dirtied up to give it some interest.  I really love colors that might otherwise be pastel when they’re muddy and grungy!  This one becomes surprisingly neutral when wearing it, not the same old boring beige and taupe, but also not one that screams GREEN!! at you.

There aren’t many that do a good old fashioned creme like OPI does and Stranger Tides is no exception.  The first coat is a little streaky, but not nearly as much as most light greens and blues are, and it evens out beautifully with the second coat.  Although I could get away with two coats on most polishes, I usually give an extra one for the Corps.  Just because….

Top it off with a coat of my beloved Seche Vite, and there you have it!  I like this one so much that I not only purchased a full size bottle in addition to the mini, but I might have gone overboard (ha!) and purchased several.  I need to do something about this back up compulsion of mine….